Table of Contents
Share this article:
In today’s fast-paced world, sending personalised emails or documents to a large audience shouldn’t be a time-consuming task. With mail merge Google Sheets, you can streamline tasks like email campaigns, newsletters, and custom document generation. Using the Document Generator Add-On, you can take your mail merges to the next level, automating and organising document creation right from Google Sheets!
In this guide, we’ll cover five simple steps to use the Document Generator Add-On to easily perform a mail merge Google Sheets.
Step 1: Prepare Your Data in Google Sheets for Mail Merge
Start by organising your data in Google Sheets, which will serve as the foundation of your mail merge. In this sheet, each row should represent a unique record for each recipient, with columns for details you’ll include in your documents, such as:
- Name (e.g., “John Doe”)
- Email (for email merges)
- Any custom data fields, such as “Order ID,” “Event Date,” or “Product Name”
Pro Tip: Ensure your column names are clear and relevant, as these will become placeholders (or “markers”) for your mail merge. For instance, use “<<FirstName>>” in your template for a name, matching it with a “FirstName” column in your Google Sheet.
Step 2: Create a Mail Merge Template
Choose a template format that best fits your document type: Google Docs, Google Sheets, or Google Slides. Each format supports placeholders (or “markers”) that will be filled in automatically with data from your Google Sheet during the mail merge.
How to Create a Template
- Open a New Document: In Google Docs, Sheets, or Slides, open a new document where you’ll create your template.
- Add Your Content: Type out the message, content, or design you want to use, such as an invoice, certificate, or report.
- Insert Placeholders: Add placeholders in double brackets (e.g.,
<<FirstName>>,<<OrderID>>) to represent data points from your Google Sheet. - Save to Google Drive: Save the template in Google Drive, ready for use with the Document Generator Add-On.
For example, if using Google Docs, your template might look like this:
Dear <<FirstName>>,
Thank you for your recent purchase! Your Order ID <<OrderID>> was processed on <<OrderDate>>.
Each template type offers flexibility, so you can choose the one that best suits your mail merge needs, whether it’s document text, data sheets, or visual slides.
Step 3: Install and Open the Document Generator Add-On
The Document Generator Add-On is the perfect solution for this task, as it streamlines mail merges and even offers options to organise and automate document generation.
Steps to Install the Document Generator Add-On
- Install: Click here to install the Document Generator Add-On directly from the Google Workspace Marketplace.
- Permissions: Follow the prompts to grant necessary permissions for Google Drive and Google Sheets access.
- Open: Once installed, go back to Google Sheets, navigate to Extensions > Document Generator > Start, and open the add-on in the sidebar.
Step 4: Set Up Your Mail Merge
With the Document Generator Add-On open, it’s time to configure your mail merge settings in one place:
Select Your Template: In the sidebar, click Select Template and choose your Google Docs, Sheets, or Slides template from Google Drive. This template will automatically pull data from your Google Sheet.
Set Document Naming: Use markers (e.g.,
<<FirstName>>_<<OrderID>>) to define a custom naming format for each document. This ensures each file has a unique, descriptive name.Choose Destination Folder: Click Select Folder to specify where all generated files should be saved in Google Drive.
Organise with Subfolders (Optional): Check the option to create subfolders, and use markers for additional sorting, like
<<Region>>/<<Year>>, if you want documents organized by specific data fields.Choose Output Formats: Select which file formats you need (Google Docs, MS Word, PDF, etc.) based on your template type.
Set Up Emailing: To automatically email generated documents, enable Send Email. Choose the recipient column, fill in the email subject and body, and select any attachments formats.
With these settings in place, your mail merge is ready to go!
Step 5: Run the Document Generator Add-On
Now, you’re set to generate your mail merge documents!
- In the sidebar, click Run Now to start the mail merge.
- Alternatively, enable Auto-generate for Google Form responses to automate document creation whenever a new form response is submitted.
Your mail merge is now complete! The Document Generator will take care of everything, ensuring that each email or document is personalised and professionally formatted.
Want to See It in Action? See how it works now!
Benefits of Using Document Generator for Mail Merge
The Document Generator Add-On goes beyond a simple mail merge tool, adding more value with features like:
- Multiple Output Formats: Generate documents in Google Docs, MS Word, or PDF formats.
- Automatic Subfolder Organization: Save generated files in a well-structured format, making it easy to organize by categories such as department, date, or recipient.
- Background Automation: Set up auto-generation, so each time a new response is added to your Google Sheet, a document is automatically generated.
These features make it a highly versatile tool, perfect for anyone looking to simplify mail merges and document generation within Google Sheets.
Conclusion: Streamline Your Work with Mail Merge Google Sheets
Mail merging doesn’t have to be complex. With the Document Generator Add-On, you can quickly create and send customised documents and emails from Google Sheets in just five easy steps. Whether for business, education, or events, this add-on brings an efficient, user-friendly solution to document automation and personalisation
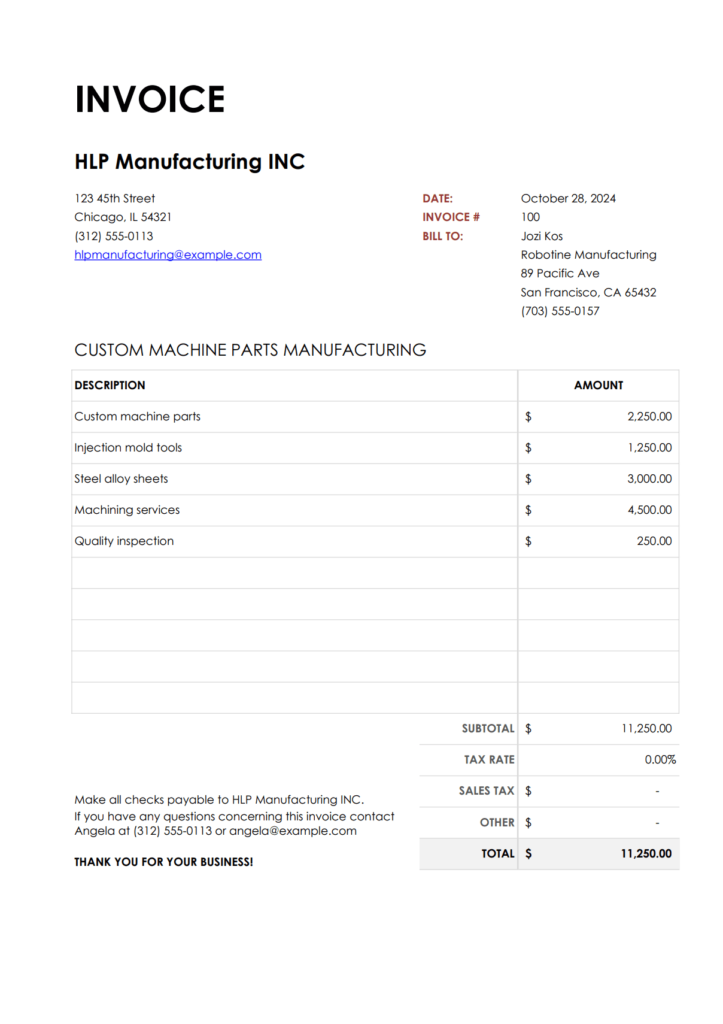
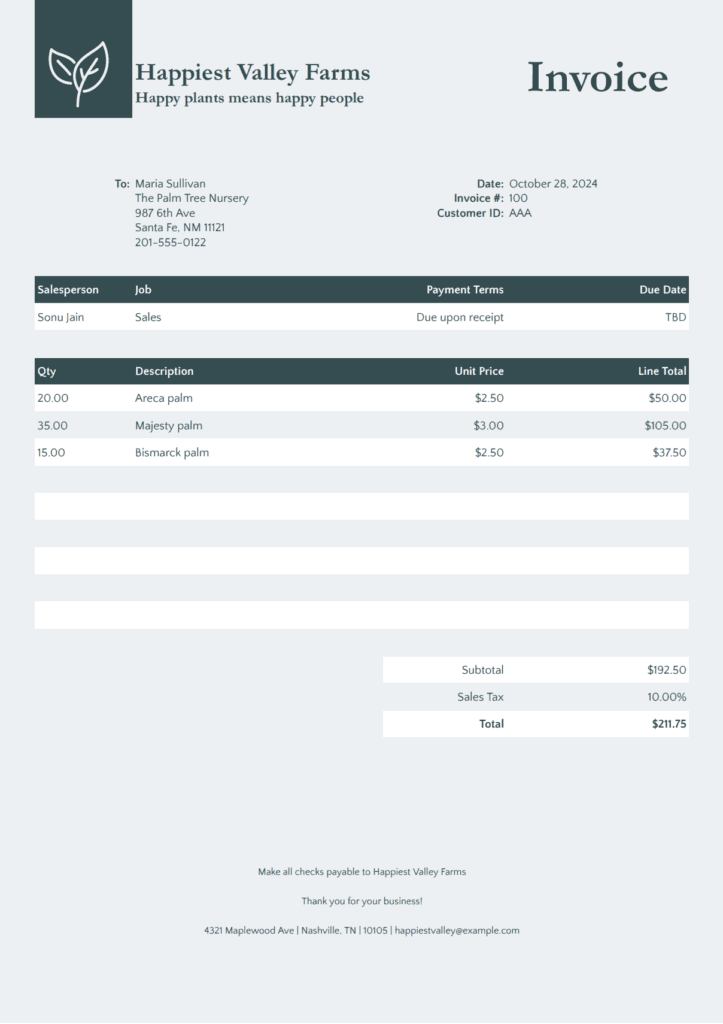
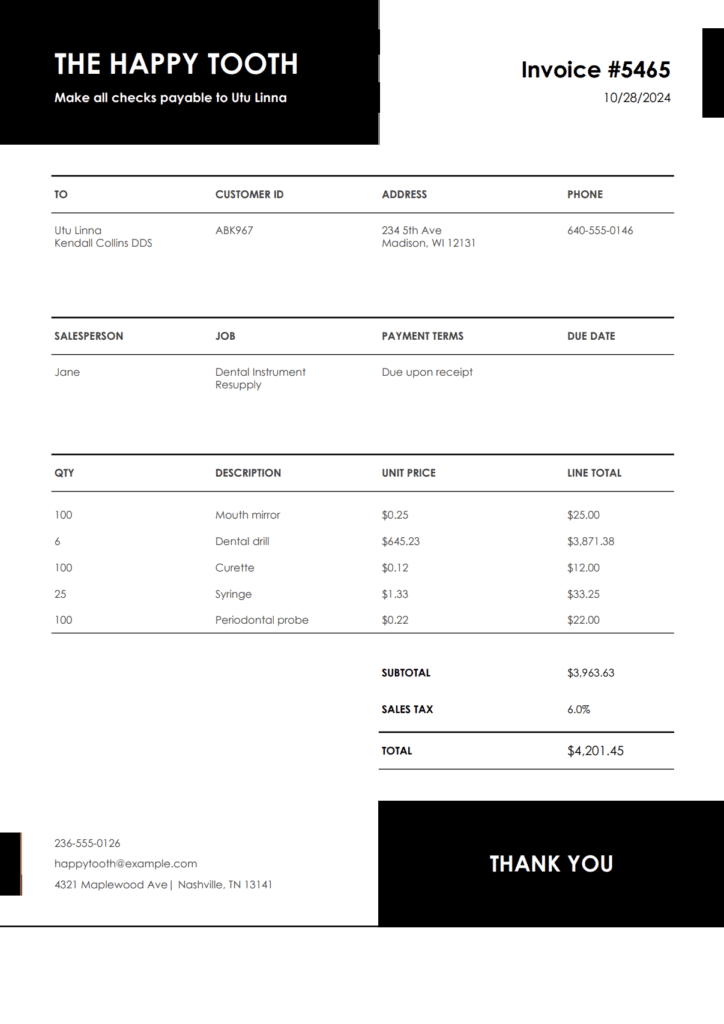
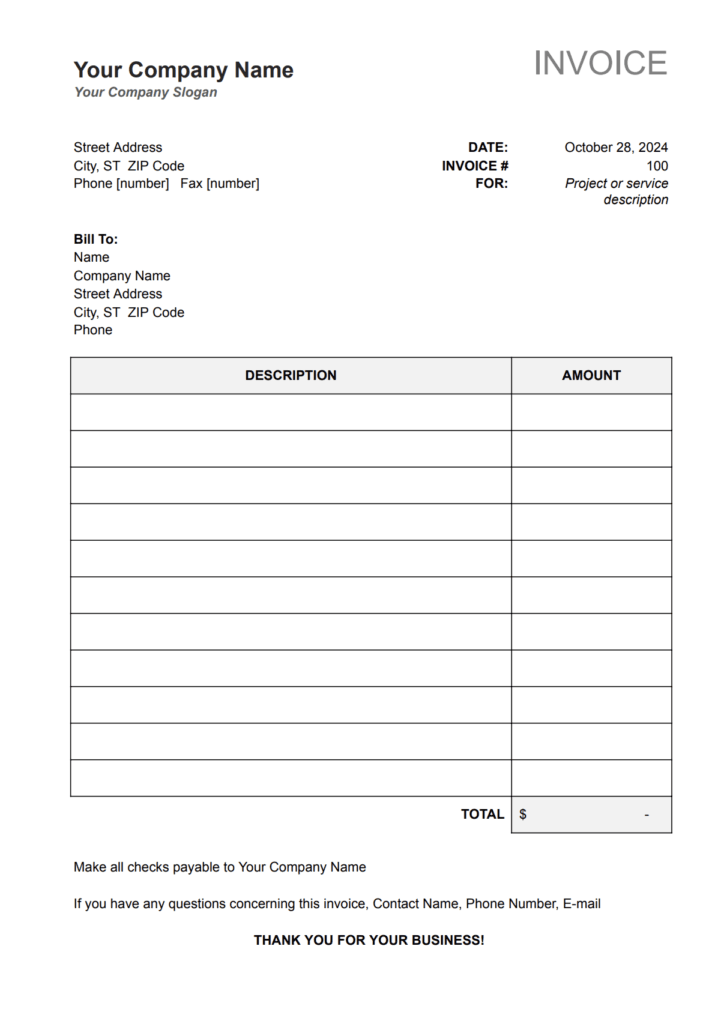
Sample Templates for Mail Merge and Invoicing
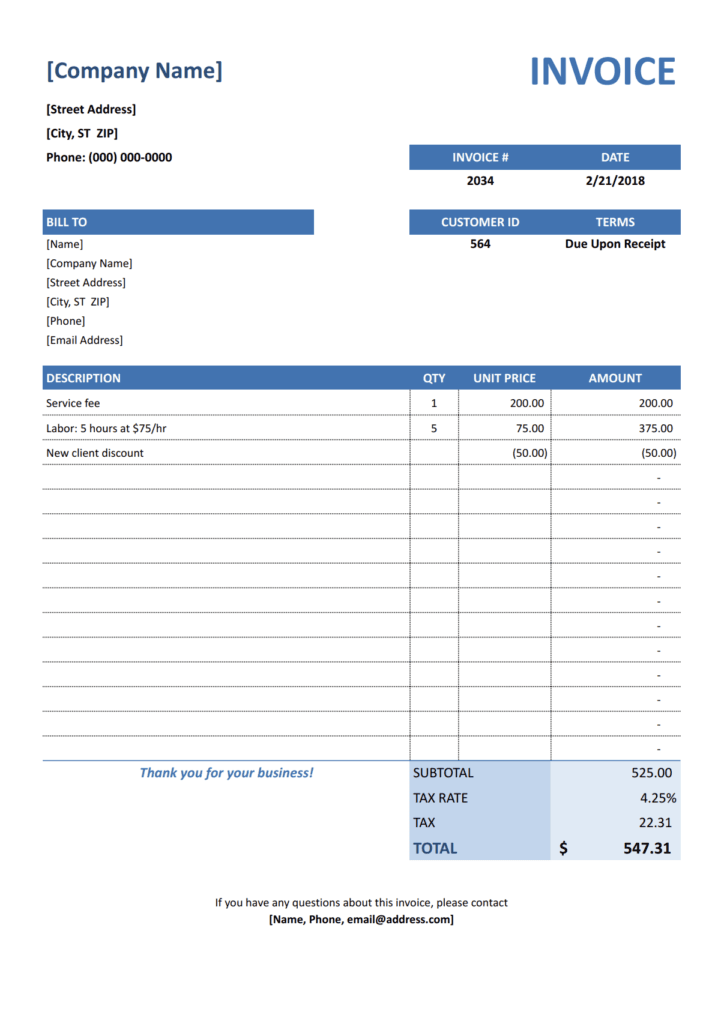
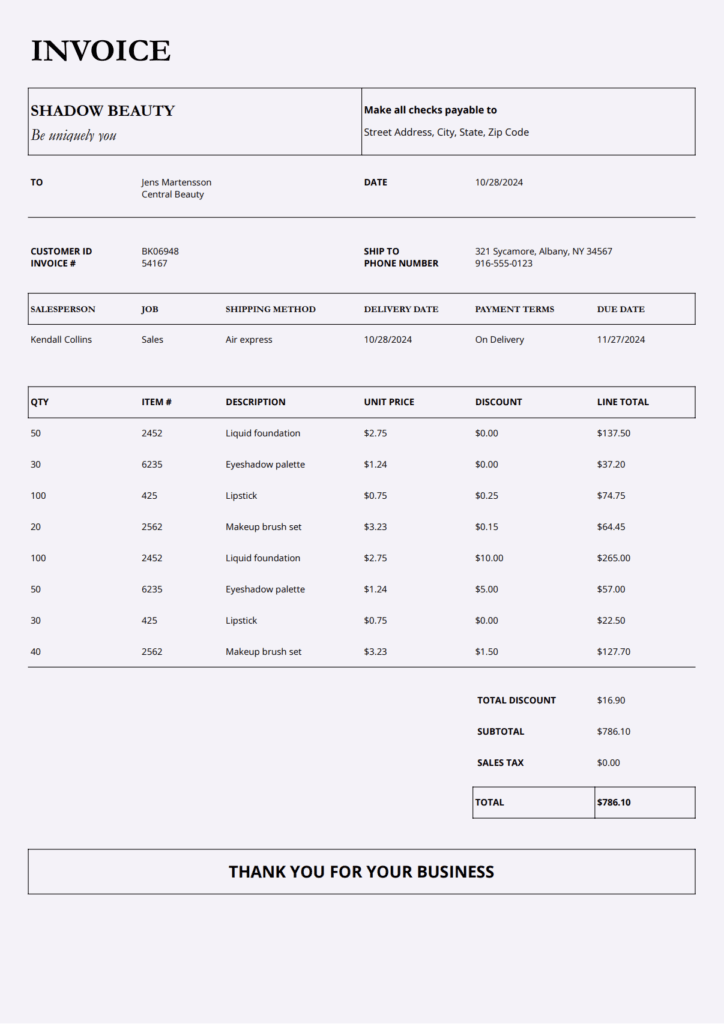
Simplify your mail merge and invoicing with our curated sample templates! These fully customisable templates allow you to adjust fields, fonts, colours, and layout to suit your brand or business style perfectly.
Get started quickly—explore our templates and make any changes you need. With the Document Generator Add-On, you can automate personalised emails and invoices in just minutes, saving time and ensuring consistency across every document. Integrate these templates with Google Sheets, and let the add-on handle the rest!
Ready to Make Mail Merge Hassle-Free? Learn more about the Document Generator and start streamlining your mail merge today!
Share this article:

